The Power of Fill . . .
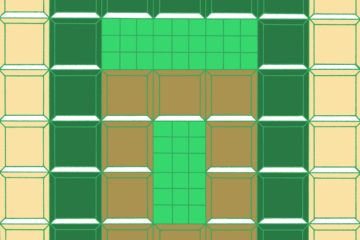
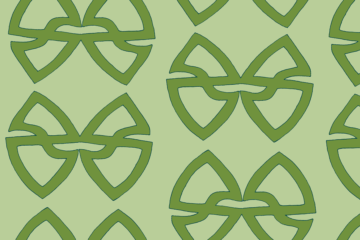
 A great way to boost your designs is to work up a number of quality fills. “Fill” refers to repeated designs that you can use to fill in large spaces. While you could draw in these fills by hand as you work on a design, creating some fills out of your favorite designs is both a time-saver and smart thinking because it frees up a little creative space in your brain.
Some programs have fills set up already, but creating custom fills is a great way to add your signature style. I like to mock up several and put them in my usual color palettes, reserving a line drawing or black and white for changing colors later on. Learning to use fill is a great way to get a lot of bang for your buck. Take the time to draw up a dozen of your favorite little doodles and turn them into fills — experiment and learn the power of fill!
In Adobe Photoshop, creating a fill is fairly simple:
1 — Arrange a pattern to your liking in a very small canvas size so it can repeat
2 — Choose “Define Pattern” from the edit menu, name it and press <ENTER>
3 — Choose Preset Manager from the edit menu. Shift-click to select all your patterns and name it. Press <ENTER> (Make sure it is saved in your Photoshop>Presets>Patterns folder)
4 — To fill in an area, choose “Fill” from the edit menu and find it in the custom pattern option
However, it can even be as simple as copying your designed fill and pasting it into a layer behind your design so that it only shows through in the right areas. Tech-savvy or not, fills are worth your time.

